First, figure out how bad it is
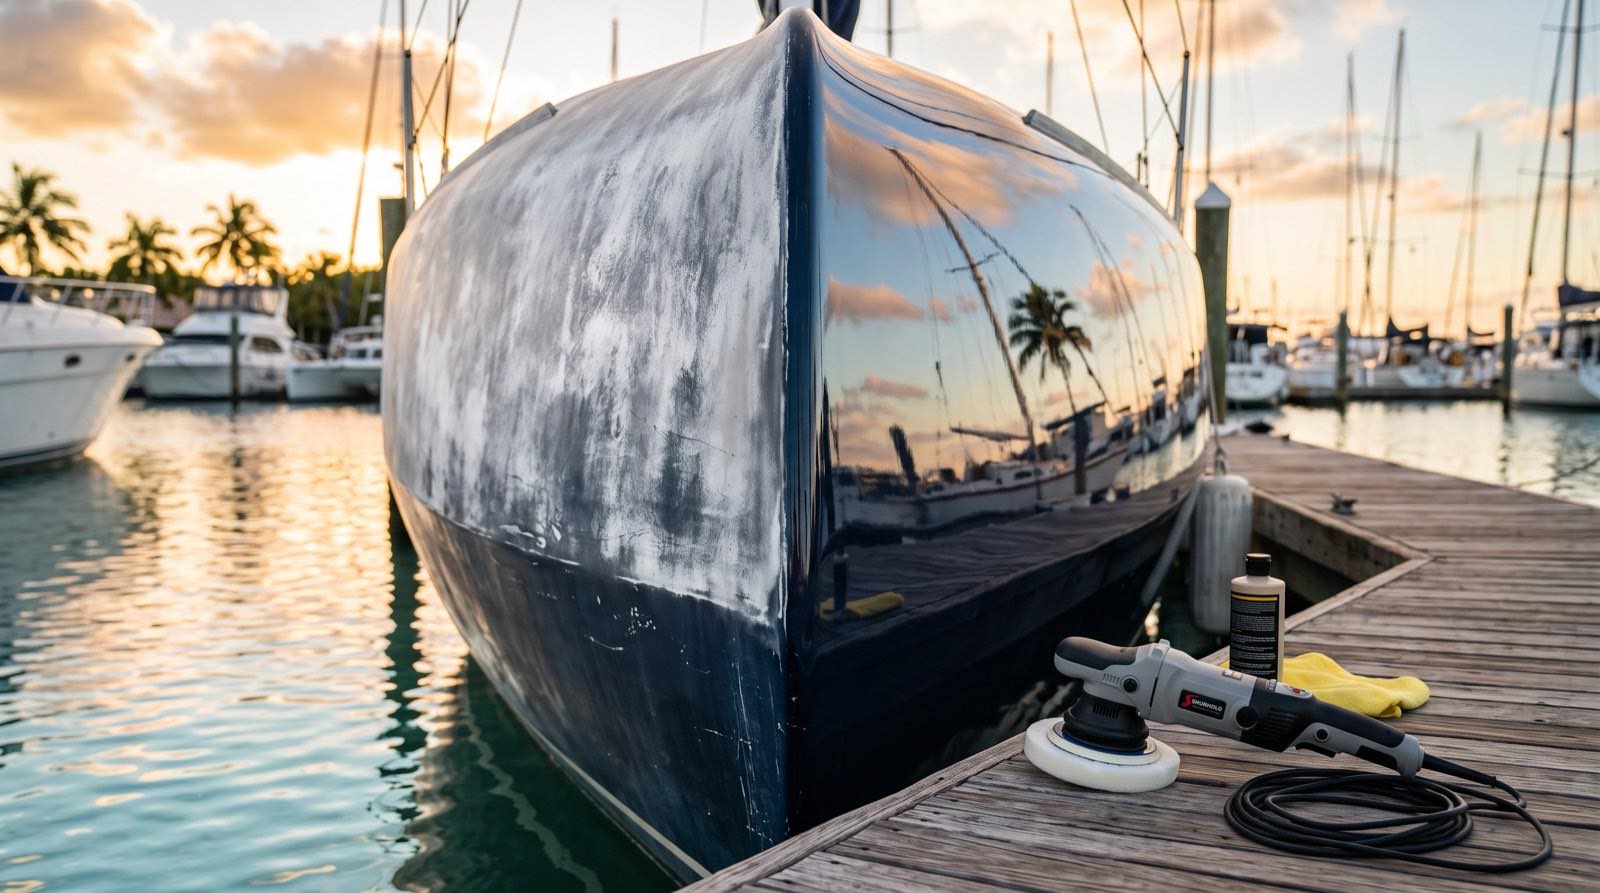
Not all chalk is equal, and the severity decides whether this is a Saturday project or a job for machines and experience. Run your palm across a dry section of the hull. If it feels smooth but looks dull, you have light oxidation. If your hand comes away with white powder on it, that's moderate. And if the surface feels rough like an eggshell and the color looks bleached several shades lighter, you're in heavy territory.
Here's a quicker test: splash some water on the hull. Wet gelcoat previews what the surface will look like restored. If it turns glossy and rich while wet, the color is still there under the dead layer and the hull will come back beautifully. If it stays flat even soaked, the oxidation runs deep and the correction will take more cutting.
The DIY fix for light oxidation
If the hull passed the water test and the powder on your palm was minimal, you can genuinely do this yourself:
- Wash and decontaminate. A thorough wash with marine soap, then go over the surface with a clay bar or clay mitt. Compounding over embedded grit just grinds it into the finish.
- Tape off your edges. Rub rails, decals, registration numbers, and anything rubber or plastic. Compound eats vinyl lettering for breakfast.
- Compound with a dual-action polisher. A medium-cut marine compound (gelcoat is much harder than car paint — automotive products underperform on it) on a foam cutting pad, worked in 2×2 ft sections until the haze clears. By hand works on small areas, but your arms will file a complaint by the second panel.
- Refine with a finishing polish. The compound leaves faint haze; a finer polish brings up the actual gloss.
- Seal it — not optional. Freshly compounded gelcoat is porous and naked. A quality marine wax or polymer sealant the same day, or the whole job starts reversing within weeks under Florida sun.
Budget a full day for a smaller trailer boat, and expect to use more product than the bottle's marketing suggests.
Why heavy oxidation defeats DIY
Once gelcoat is heavily chalked, a medium compound just polishes the dead layer instead of removing it. The fix is wet-sanding — progressive grits, usually 800 to 1500, cutting the surface down evenly before any compounding starts. This is where DIY jobs go wrong, for two reasons.
First, gelcoat thickness isn't infinite. Factory gelcoat runs about 0.5–0.8 mm, and a boat that's been compounded a few times in its life has less. Sand through it and you're looking at fiberglass — a repair, not a detail. Second, edges and curves burn through first. Chines, strakes, and moldings concentrate pressure, and a rotary polisher held a beat too long on a hard edge does damage you can't buff away.
A pro who does this weekly reads the surface as they cut, knows where boats of your hull's era are thin, and carries the machine skills to keep everything even. Our oxidation removal service runs about $20–$30 per foot in Jacksonville — on a heavily chalked hull, that usually beats the cost of the tools, the products, and the weekend you'd burn learning on your own gelcoat.
Keeping it from coming back
Oxidation is a UV problem, so the fix that lasts is a UV barrier. Bare restored gelcoat in Northeast Florida will start chalking again in a season. You have three tiers of defense: wax (cheap, lasts 2–3 months here), polymer sealant (4–6 months), or a marine ceramic coating (multiple years, and the only option that meaningfully changes the maintenance math). Pair whichever you choose with regular washes so salt and grime never sit long enough to work on the finish — and read our take on how often Florida boats actually need wax.